Getting started and connecting
Find the camera, join its Wi-Fi, see the live view: how to get started with Pogimoti. Plus the home screen with tiles, bottom bar and menu.
On first launch, Pogimoti shows "Welcome to Pogimoti": "Three steps to your first timelapse move". You can find this help later under ⋯ → "Getting started".
Connecting the camera
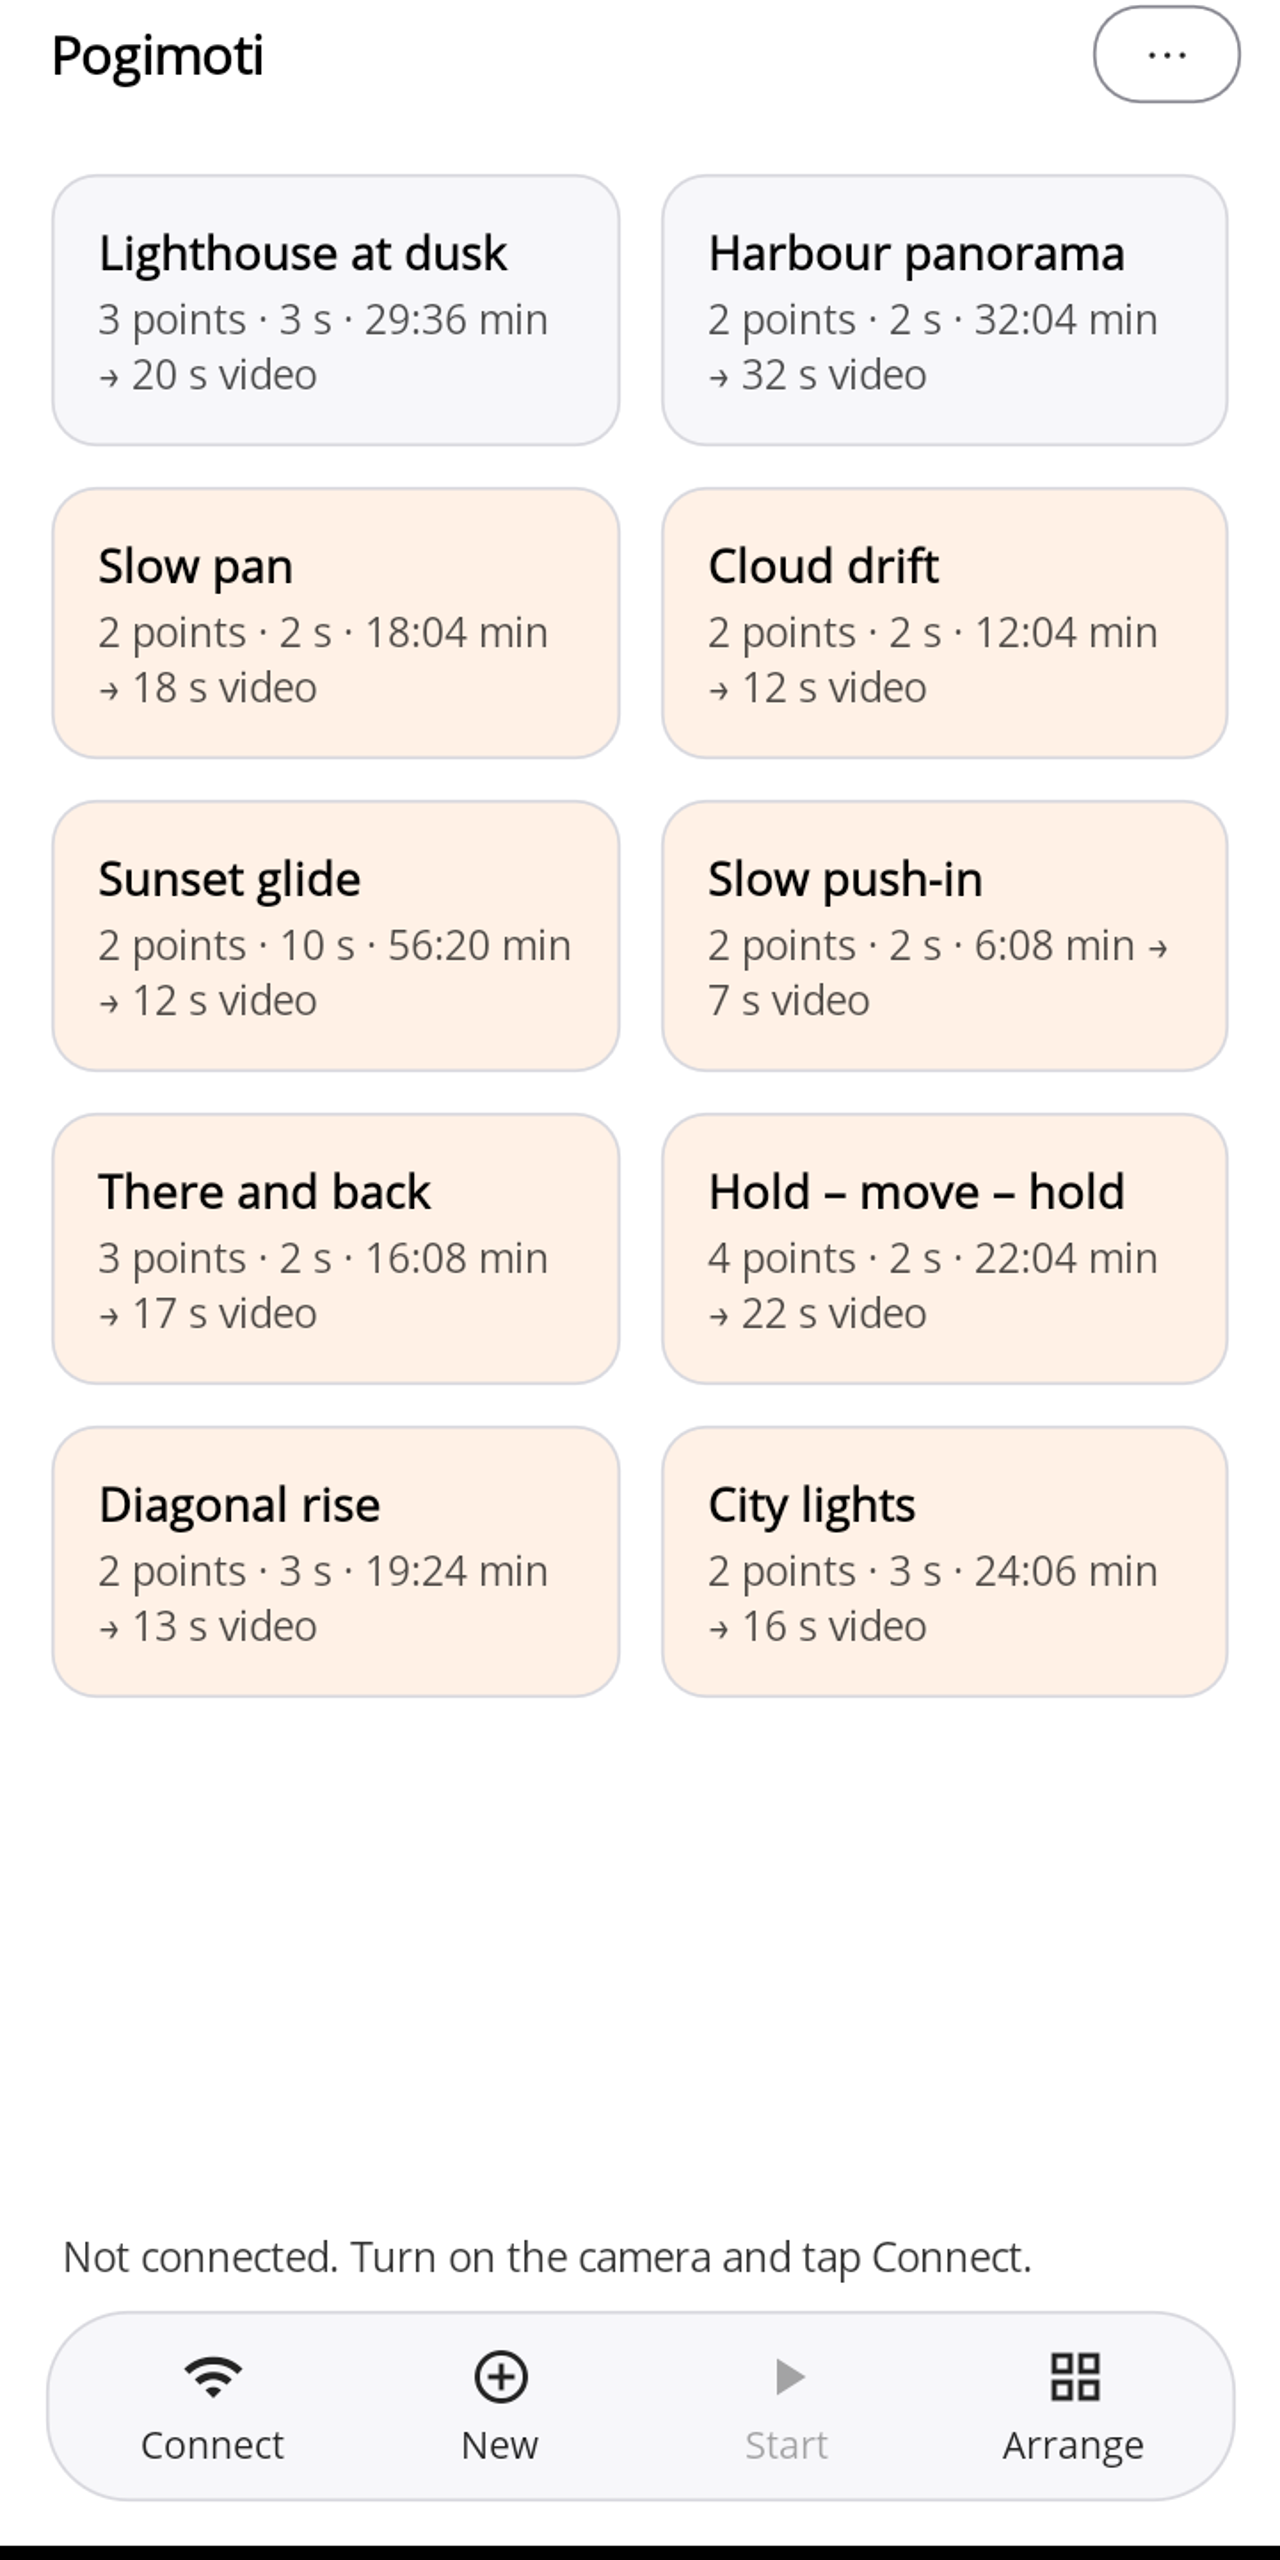
- Switch on the Luna and close the manufacturer's app. The camera only allows one connection at a time.
- In Pogimoti, tap "Connect" (bottom bar, left). The first time, the system asks for permissions:
- Android: for "Nearby devices" and for notifications. Please allow both; the notification keeps a running move going (see Timelapse).
- iOS: for Bluetooth and "Local Network". Please allow both.
- The first time, the camera asks on its display whether to allow the control. Confirm there; the app shows "Please allow the control on the camera display."
- Pogimoti fetches the Wi-Fi credentials over Bluetooth and joins the camera network by itself. Confirm joining the camera Wi-Fi once in the system prompt (iOS) or the Android dialog.
- The status runs through: "Looking for the camera …" → "Getting Wi-Fi credentials …" → "Joining the camera Wi-Fi …" → "Opening the session …" → "Connected: Insta360 Luna Ultra". This typically takes 10 to 20 seconds.
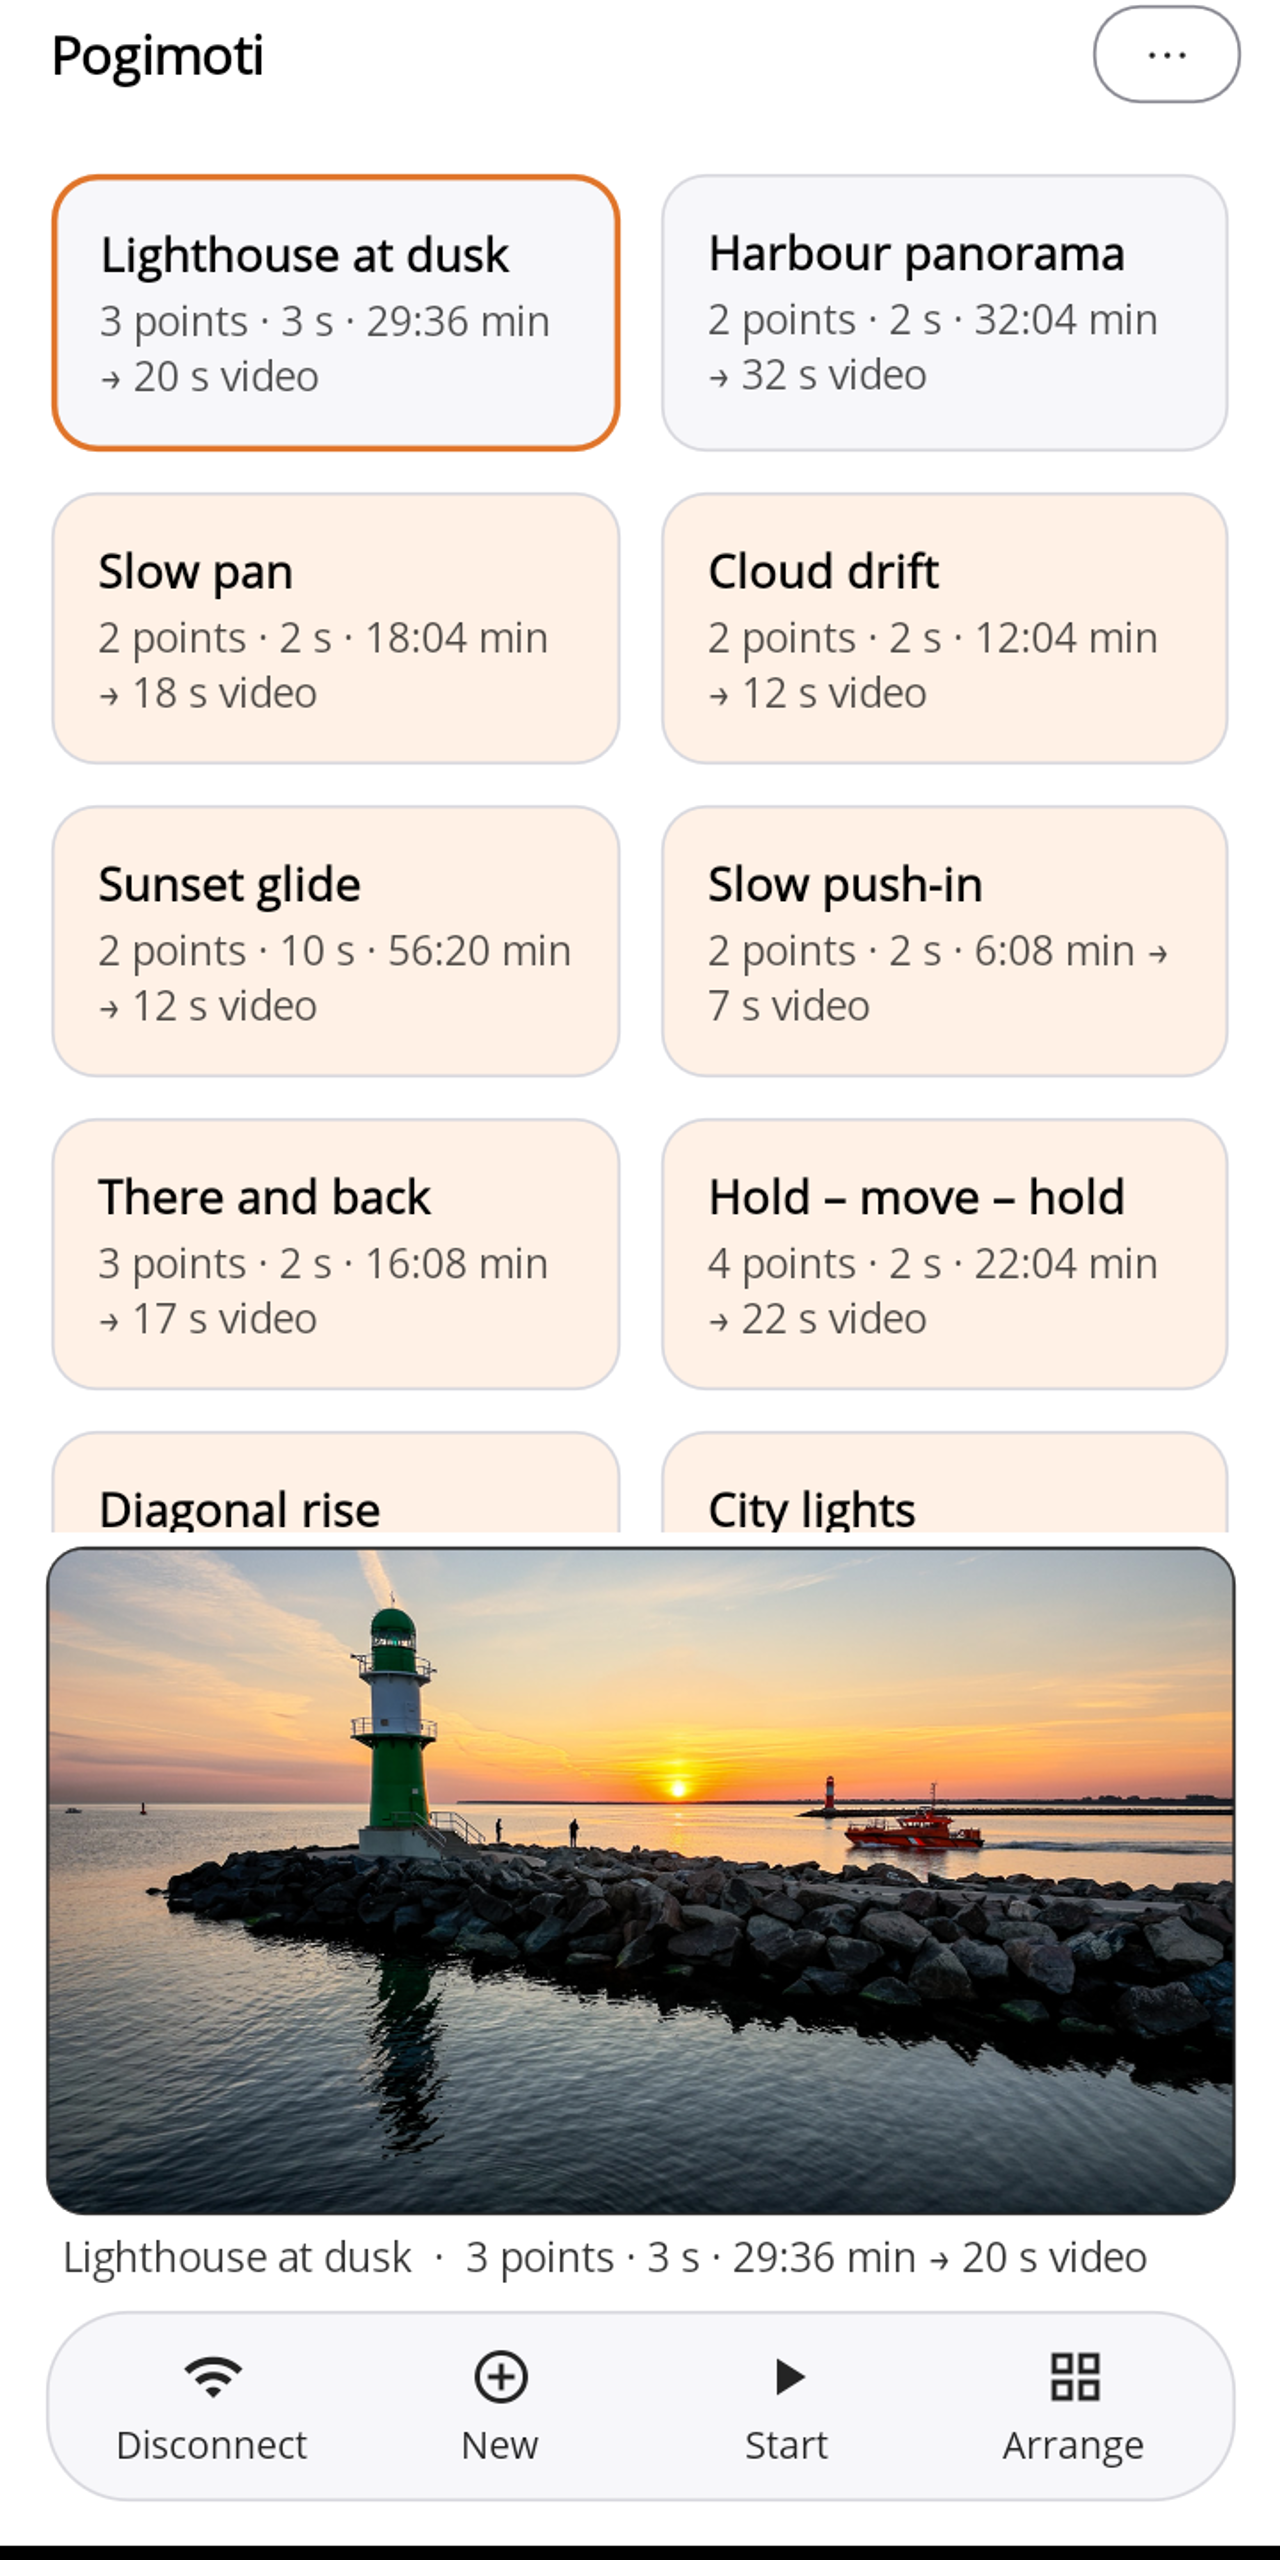
Once connected, the camera's live view appears below the tiles; you can switch it off via ⋯ → "Live view". "Disconnect" ends the session.
About the camera Wi-Fi: as long as Pogimoti is connected, the phone is on the camera's Wi-Fi, which has no internet access. That is normal.
Denied a permission by mistake? On the iPhone, Bluetooth and "Local Network" can be turned back on under Settings › Pogimoti; on Android, the Bluetooth permission under Settings › Apps › Pogimoti › Permissions.
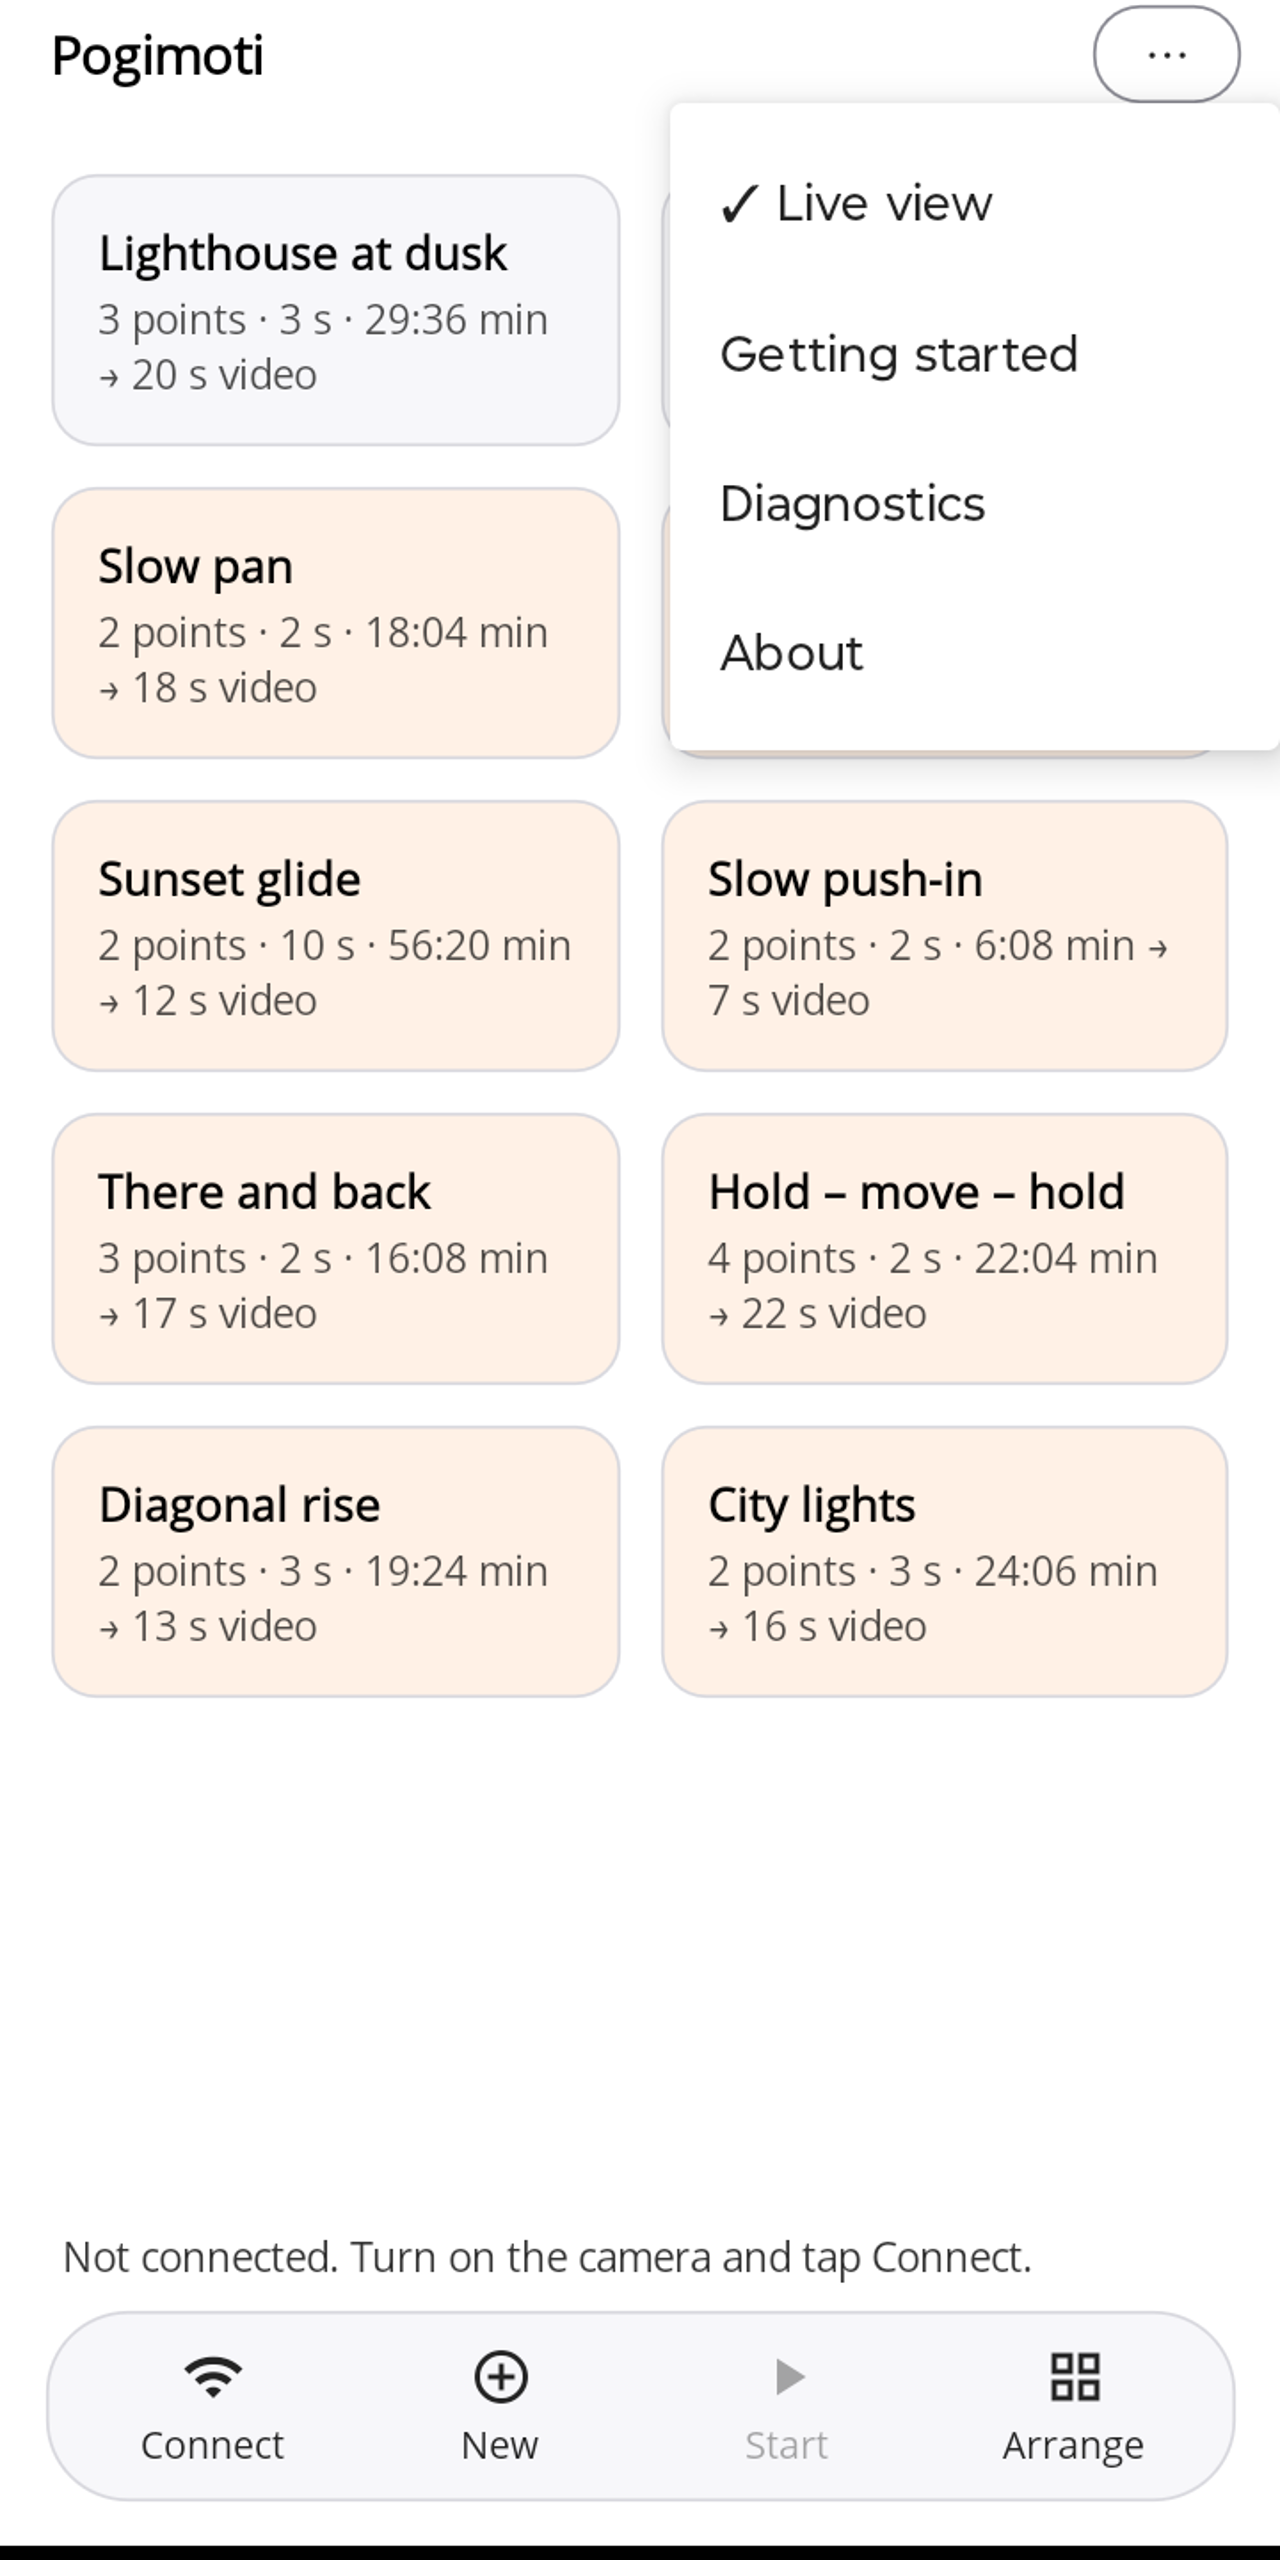
The home screen
Every tile is a move: your own at the top, the lightly tinted templates below. A tile shows, for example, "2 points · 2 s · 18:04 min → 18 s video": points, interval and move time, plus the length of the finished video.
- Tap once to select a move: the tile gets an orange frame, the line below the live view shows its values.
- Tap again to open the editor (see Planning a move).
| Button | Function |
|---|---|
| Connect / Disconnect | connect to or disconnect from the camera |
| New | create a new move: empty, from a template or as a copy of your own (see Templates) |
| Start / Stop | start or cancel the timelapse of the selected move |
| Arrange | re-order tiles, take them off the home screen or bring them back |
Arrange: drag tiles to re-order them. − takes a tile off the home screen (it moves to "Not on the start screen"), + brings it back. "Done" ends the mode.
⋯ menu: Live view · Unlock Pro · Getting started · Diagnostics · About. "Unlock Pro" only appears as long as Pro has not been bought.